How to Install a Ford MK1 Puma Spoiler?
How to Install a Ford MK1 Puma Spoiler? What are Haosheng's Ford Puma Spoiler Features? What Tools and Preparation Need Before Installation? Step-by-Step Installation Instructions Why Choose the Haosheng's Ford Puma Back Spoiler? Frequently Asked Questions
Looking to upgrade your Ford Puma with a sleek and sporty rear spoiler? Our Ford MK1 Puma rear spoiler is designed specifically for the Ford Puma standard model, enhancing its visual appeal and providing aerodynamic benefits. In this guide, we’ll walk you through the installation steps to help you get the perfect fit—whether you're a first-time installer or a seasoned car modifier.
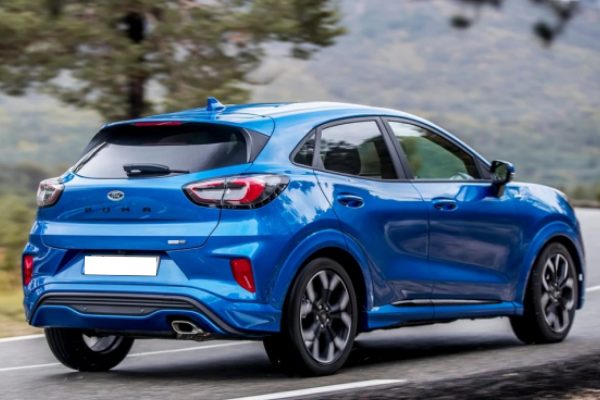
What Is a Ford Puma Spoiler?
A rear spoiler is an aerodynamic accessory mounted on the rear roof end of the vehicle. For the Ford Puma, a sporty subcompact crossover popular in the European market, adding a spoiler:
★Improves rear-end aesthetics
★Enhances sporty design lines
★Contributes to aerodynamic stability at higher speeds
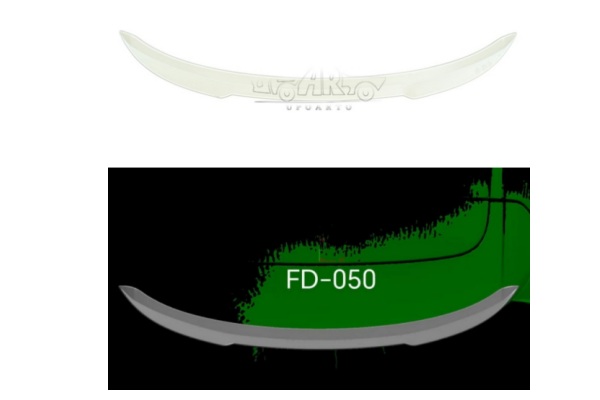
What are Haosheng's Ford Puma Spoiler Features?
★Streamlined design that matches the natural curve of the vehicle
★Made from high-quality ABS plastic for strength and durability
★Available in multiple finishes: gloss black, matte black, carbon fiber looks or unpainted (custom color available)
What Tools and Preparation Need Before Installation?
To ensure a clean and secure installation, prepare the following:
★3M automotive-grade double-sided tape
★Degreasing agent or alcohol wipes
★Microfiber cloth
★Heat gun or hair dryer
★Measuring tape and masking tape (for alignment)
Tip: Make sure the tailgate surface is completely dry and dust-free before installing.
Step-by-Step Installation Instructions
1. Clean the Installation Area
Wipe down the top edge of the tailgate with alcohol wipes to remove all dirt, oil, and residue.
2. Test Fit the Spoiler
Place the FD-050 spoiler on the vehicle to determine the correct alignment. Use masking tape to mark the position if necessary.
3. Apply the 3M Tape
Attach the tape to the underside of the spoiler. Don’t remove all the backing at once—peel it gradually during the installation.
4. Attach the Spoiler
Starting from one end, press the spoiler onto the tailgate slowly and evenly. Use firm pressure for at least 10 seconds per section.
5. Use Heat for Extra Adhesion
Use a heat gun or hair dryer to warm the taped areas. This activates the adhesive and improves bonding.
6. Cure Time
Let the car sit for at least 24 hours before washing or driving at high speed to ensure a strong bond.
Why Choose the Haosheng's Ford Puma Back Spoiler?

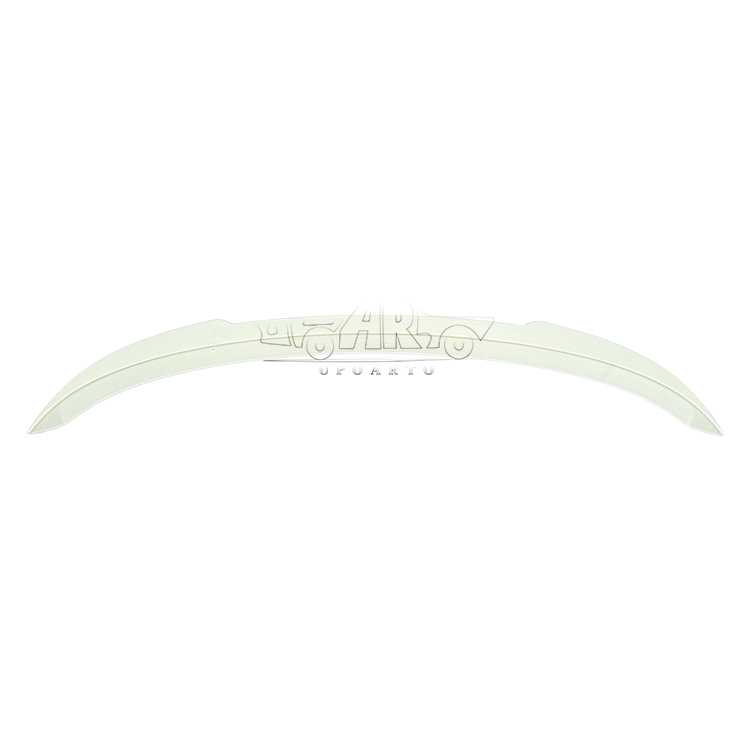
■Precision-molded design tailored for Ford Puma
■Easy to install with or without drilling
■Factory-direct quality at competitive prices
■Supports custom paint finishes to match your vehicle
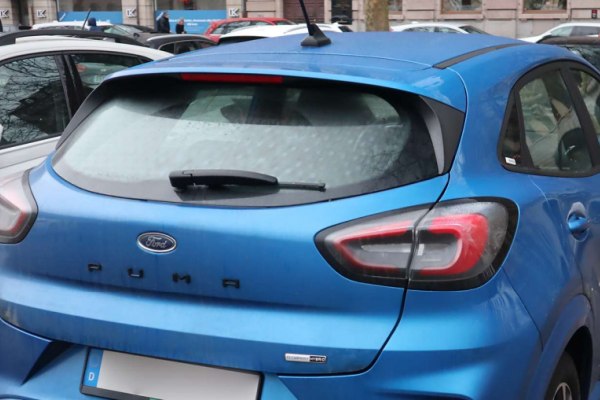
Before & After Effects
See how the Ford Puma rear spoiler upgrades the rear profile of your Ford Puma:
| Before Install Spoiler | After Install Spoiler |
 | 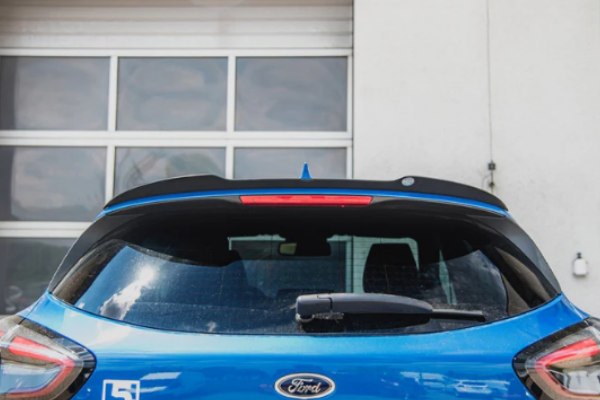 |
Frequently Asked Questions
Q1: Will this fit all Ford Puma models?
A: Yes, the Ford Pums roof spoiler fits all 2020+ Ford Puma models sold in Europe and other global markets.
Q2: Is drilling required?
A: No drilling is needed for the 3M tape version. However, a screw-mount version is available upon request.
Q3: Can I install it myself?
A: Yes! The 3M tape version is beginner-friendly and takes less than 30 minutes.
Q4: Do you offer bulk pricing for B2B buyers?
A: Absolutely. We are a direct factory and offer wholesale pricing and customization for distributors.
Contact us now to get the latest wholesale prices, color options, and product catalogs